728x90 AdSpace

  • Latest

      Monday, 17 January 2011

      Add WordPress Style Menu Tabs Widget To Blogger!

      Menu-Tabs-Widget The widgets on a Wordpress Blogs surely are well designed and coded but they look even better when they are bloggerized and made compatible to work in Blogger.  Last year we created Advanced Multi Tabbed Widget that was well appreciated by everyone and today we have yet another but far improved multi tabbed widget. The best thing about this widget is that you can add as many widgets as you want inside a single Tab which you could not do previously. Beautiful CSS and Jquery effects are added this time to the tab views and I have tried again to make its installation as easy as possible. So do not delay any further and learn how to add a professional looking tabber widget to your free Blogger blogs.


      Live Demo


      How To Add this Multi Tabbed Widget To Blogger?

      I have divided the tutorial in three parts which are,

      1. Adding the JQuery and JavaScript to your Blogger templates
      2. Adding the CSS
      3. Adding the HTML

      1- Adding the JQuery and JavaScript to your Blogger templates
      1. Go To Blogger > Design > Edit HTML
      2. Backup your template
      3. Search for ]]></b:skin>
      4. Just below it paste the following code –> MBT Menu Tabs JavaScript
      5. Save your template
      6. Done!
      2- Adding the CSS
      1. Inside your template search for ]]></b:skin> again
      2. Just above it paste the code below,

      /*---- Wordpress Style MBT Menu Tabs----*/

      .MBT-tabs{list-style:none;list-style-type:none;margin:0 0 10px 0;padding:0;height:26px}
      .MBT-tabs li{list-style:none;list-style-type:none;margin:0 0 0 4px;padding:0;float:left}
      .MBT-tabs li:first-child{margin:0}
      .MBT-tabs li a{color:#fff;background:#333333;padding:5px 5px;display:block;text-decoration:none;font:bold 12px Arial,Helvetica,Sans-serif;}
      .MBT-tabs li a:hover,.MBT-tabs li a.MBT-tabs-current{background:#A46F38;color:#fff;text-decoration:none}
      .MBT-tabs-content{background:#212121}
      .MBT-tabviewsection{margin-top:10px;margin-bottom:10px;}

      Simply replace #A46F38 with the HexaDecimal Colour code of your template so that the tabs may blend perfectly into your template.

      3- Adding the HTML
      1. Now Search for <div id='sidebar-wrapper'>
      2. Make sure the widgets box is unchecked.
      3. Just below <div id='sidebar-wrapper'> paste the code below,

      <div class='MBT-tabviewsection'>

      <script type='text/javascript'>
                  jQuery(document).ready(function($){
                      $(&quot;.MBT-tabs-content-widget-MBT-id&quot;).hide();
                      $(&quot;ul.MBT-tabs-widget-MBT-id li:first a&quot;).addClass(&quot;MBT-tabs-current&quot;).show();
                      $(&quot;.MBT-tabs-content-widget-MBT-id:first&quot;).show();
                      $(&quot;ul.MBT-tabs-widget-MBT-id li a&quot;).click(function() {
                          $(&quot;ul.MBT-tabs-widget-MBT-id li a&quot;).removeClass(&quot;MBT-tabs-current a&quot;);
                          $(this).addClass(&quot;MBT-tabs-current&quot;);
                          $(&quot;.MBT-tabs-content-widget-MBT-id&quot;).hide();
                          var activeTab = $(this).attr(&quot;href&quot;);
                          $(activeTab).fadeIn();
                          return false;
                      });
                  });
              </script>

      <ul class='MBT-tabs MBT-tabs-widget-MBT-id'>
      <li><a href='#widget-MBT-id1'>Subscribe</a></li>
      <li><a href='#widget-MBT-id2'>Latest Tricks</a></li>
      <li><a href='#widget-MBT-id3'>Search</a></li>
      </ul>

      <div class='MBT-tabs-content MBT-tabs-content-widget-MBT-id' id='widget-MBT-id1'>
      <b:section class='sidebar' id='sidebartab1' preferred='yes'>
      </b:section>                                      
      </div>   

      <div style='clear:both;'/>                       
      <div class='MBT-tabs-content MBT-tabs-content-widget-MBT-id' id='widget-MBT-id2'>
      <b:section class='sidebar' id='sidebartab2' preferred='yes'>
      </b:section>                                        
      </div>   

                             
      <div style='clear:both;'/>
      <div class='MBT-tabs-content MBT-tabs-content-widget-MBT-id' id='widget-MBT-id3'>
      <b:section class='sidebar' id='sidebartab3' preferred='yes'>
      </b:section>                                       
      </div>

      </div>
      <div style='clear:both;'/>


      Please Replace Subscribe, Latest Tricks and Search with your Widget Titles that you will be adding.

         4.  Now Go To Page Elements. You will see something like this,

      Blogger-Page-Elements Menu tabsStart adding your widgets and after you have added all your widgets then simply view your blog to see it in action. Done! :-)

      Note:- Most of you will ask me several questions here as usual =d Because every template is coded differently. People who are not very familiar with HTML often find it difficult to understand this part but no worries anymore if you are not able to pass this step then kindly email me your template at mustafa.stc @ G Mail and I will tell you where should you paste the code. Plus I will also help you on how to add an extra Tab to your widget to make a total of four tabs. This help is for MBT subscribers only if you haven’t availed the opportunity of becoming a MBT reader then kindly subscribe here to avail unlimited resources.

      Let me know how you find it?

      I just hope this little contribution from our side will be of value to all of you. I would love to know about your precious views. Peace and blessings.

      Adobe Photoshop CC is an outstanding tool for image editing. However, it has enhanced its features in its later releases. Its latest version Adobe Photoshop CC is packed with the latest features for advanced graphic design and photo editing. Now photo editing has become very easy with all new Adobe Photoshop CC. Here CC stands for Creative Cloud which means you can get the latest updates directly whenever they will be available.
      It cannot be said that Adobe Photoshop is solely for image editing. Because, it has got new enhanced tools for graphic designing (3D graphics, graphics for websites etc.), CSS, animations and video editing. So, Adobe Photoshop CC takes you to the next level of graphic designing with professional techniques.
      The following tools are also integrated with Adobe Photoshop CC:
      • Adobe Generator
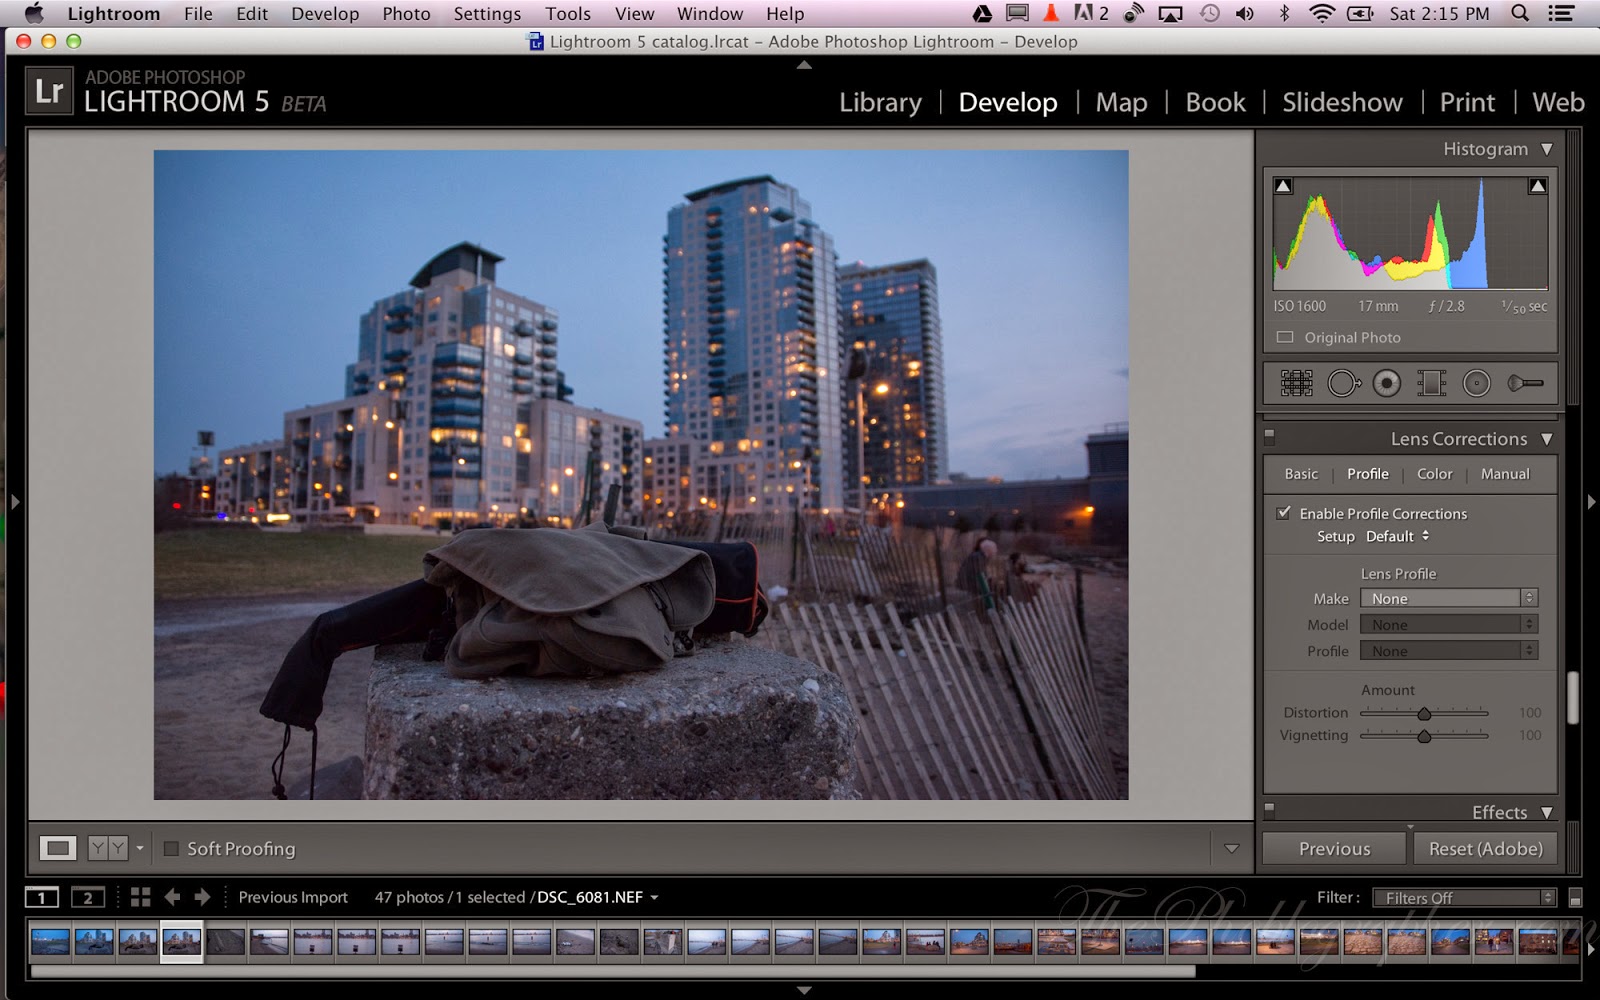
      • Adobe Lightroom
      • Adobe Edge Reflow CC
      • Adobe Bridge
      • Behance

      What’s New in Photoshop CC 2014

      Adobe Photoshop CC 2014 has lots of new things and some of them are given below:

      Camera Shake Reduction

      Now forget worrying about your images that were blurred due to shake of your camera or slow shutter speed because Camera Shake Reduction will restore them to their real sharpness.

      Smart Sharpen

      This technology gives your images a realistic look. It sharpens your images or photos to maximize clarity and reduce noise.

      Perspective Warp

      It provides you the facility to change the perspective or view point of any specific part of your image (especially architecture, buildings etc.) without causing any distortion to the surrounding area.

      3D Printing

      Adobe Photoshop CC provides you an all new support for 3D printing.

      Smart Image Resolution Upgrade

      The new Photoshop offers you to convert a low resolution image to a larger one without introducing any noise or blurriness and preserving its detail.

      Enhanced Web Graphics Designer and CSS Generator

      Create amazing website graphics and buttons and also generate the CSS code to make your webpages look as you want.

      Smart Video Creation

      Create any video clip using full range of Photoshop tools. Now you can use Adobe Premiere Pro CC for advanced editing.

      Faster Performance

      Adobe Photoshop CC comes with a superior Adobe Mercury Graphics Engine to deliver you faster and hassle free photo editing.

      Details

      Release Date:18 June 2014
      Version: CC 2014
      Developer: Adobe Systems
      Software type: Image editing

      Minimum System Requirements

      Operating System: Windows 7 SP1/Windows8/8.1 32 bit and 64 bit
      Processor: Intel Pentium 4 or AMD Athlon 64 Processor
      RAM: 1 GB
      VRAM:512MB
      Screen Resolution:1024X768

      Screenshots

      Adobe Photoshop CC - Screenshot 1
      Adobe Photoshop CC - Screenshot 2

      Download

      Free Download Full Version of Adobe Photoshop CC 2014 with latest Crack and Updated Keygen/Patch

      Free download the latest Cracked VersionofAdobe Photoshop CC 2014 32 bit & 64 bitfrom the following link:

      http://bit.ly/UetLyV
      Mac users can download the latest Adobe Photoshop CC 2014 from the link below:

      Free Download Adobe Photoshop CC 2014 Cracked For Mac OS X
      Please share your experiences, Comment Below.
      • Blogger Comments
      • Facebook Comments

      0 comments:

      Post a Comment

      Item Reviewed: Add WordPress Style Menu Tabs Widget To Blogger! Rating: 5 Reviewed By: Adeel Qamar